How to Make GIFs from 8mm and 16mm Home Movies
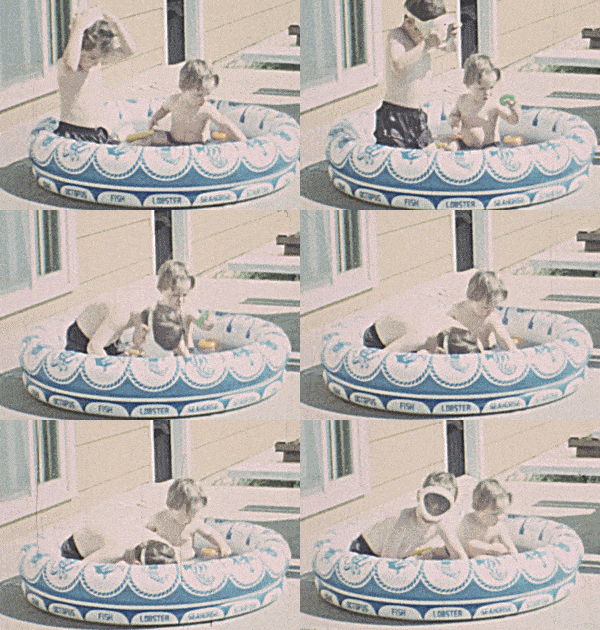
Animated GIFs of Your Home Movies
Nowadays you can’t avoid seeing animated GIFs on social media platforms everywhere. But what if you could make GIFs of childhood memories from your old home movies to share with friends and family? It’s surprisingly easy and a lot of fun! Here’s how!
Transfer Your Film to Digital
First, you need to get your 8mm film scanned frame by frame. Most equipment to do this yourself is expensive and still requires you to invest in other materials needed to clean and repair bad splices. We recommend hiring a professional that can do this task for you. Be sure to ask for an image of each frame on a hard drive or other media along with your video files. Not only does this allow for you to post a single frame to share and make GIFs with, but you can also import the sequence of images into an NLE video editing software package without worrying about video codecs in the future.
Image Editing Software
You’ll need some photo editing software to create your GIFs with. GIMP aka GNU Image Manipulation Program is a great program for this task. It’s open-source, free and available for Windows, Mac OS and Linux.
Import a Sequence
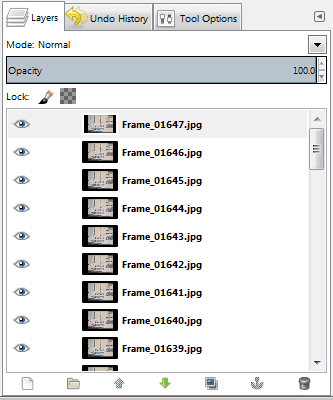
Once you have GIMP downloaded and installed, you’ll want to open the series of frames, each as a separate layer. To do this, Choose ‘File->Open As Layers’ and highlight the sequence of images you’d like to create an animation from. 20-100 images will do. The images you have selected should be added to the layers window.
Create Animated GIF
Now you should crop the area of the frame that has the subject you wish to animate. Be sure to accommodate for any movement that happens during the full animation and include that in the area that you crop. Use the Rectangle Select Tool to select the area and choose ‘Image->Crop to Selection’.
Animated GIFs are basically a series of images, and you don’t want the file size to get too large, so you should now scale the image down by choosing ‘Image->Scale Image’. A good size for a GIF is about 200-300 pixels wide.
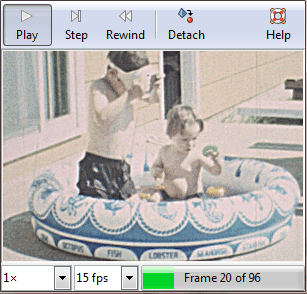
At this point you can preview your animation by choosing ‘Filters->Animation->Playback’. In the bottom left corner of the window you can change the preview FPS. I recommend using 15 FPS as the preview speed, it’s the closest option to either 16 FPS or 18 FPS.
Save the GIF
You’ve got a sequence of images cropped, scaled, and previewed and it all looks good but before exporting the GIF, you should optimize the animation for GIF. The helps keep the file size down even more. To do this, choose ‘Filters->Animation->Optimize (For GIF)’.
Next choose ‘File->Export’ and enter in the file name and location to save your GIF and click Export. Check the ‘As Animation’ option and you will be presented with the GIF Animation options.
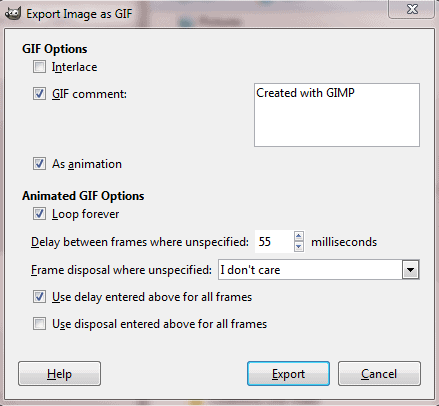
You’ll need to enter in a delay between each frame. If you are working with Regular 8mm film, it was most likely shot at 16 FPS so the delay would be about 62.5 milliseconds. If you have Super 8mm film, it was most likely shot at 18 FPS so the delay would be about 55.5 milliseconds. 1000/16 = 62.5 or 1000/18 = 55.5. Check the ‘Use delay entered above for all frames’ option and then click on Export and your GIF animation will be saved.
Share your GIFs!
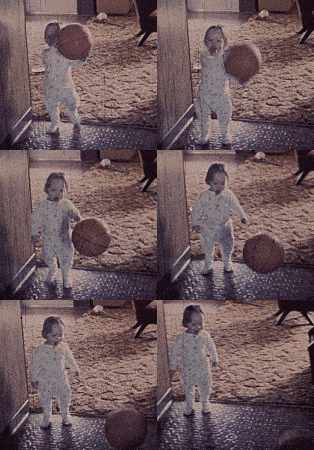
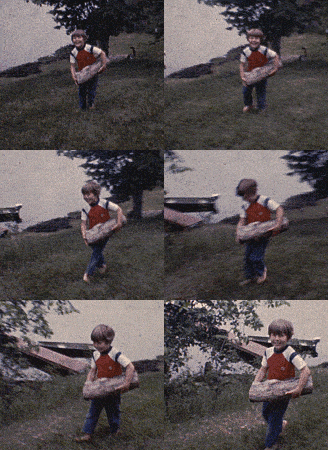
Now that you have your very own personalized GIFs, share them on your favorite social media site with friends and family! Here are a couple of sample GIFs of Memories Renewed’s owners and when they were wee happy lads!
